The next step is to wrap a little bit of wool around the frame. I tend to start at the limb attachment point and poke the wool with the needle after a few turns just to get it to stay in place. Then I wrap all the way down and around the foot loop. I felt through the loop, also to get the wool to stay in place. You don't have to felt it a whole lot around the wire as long as you anchor it down on the ends. Wrap the whole frame so that the when you add larger pieces of wool you can get it to stay in place as you felt it down.
After you wrap the whole frame, take larger pieces of wool and wrap them around to build up bulk. I use wool roving so that is why my wool is in strips. However you can do it with wool batts or whatever you prefer.
 |
Here you can see how I built up the body first, and am now adding wool around a foreleg.
|
When adding strips of roving to my sculpture, I first attach the strip from the beginning of where I want to start to wrap it. In the above photo I attached this piece at the shoulder in order to wrap it around the leg. By doing this I am mimicking the musculature of the animal, thus creating a more realistic end result.
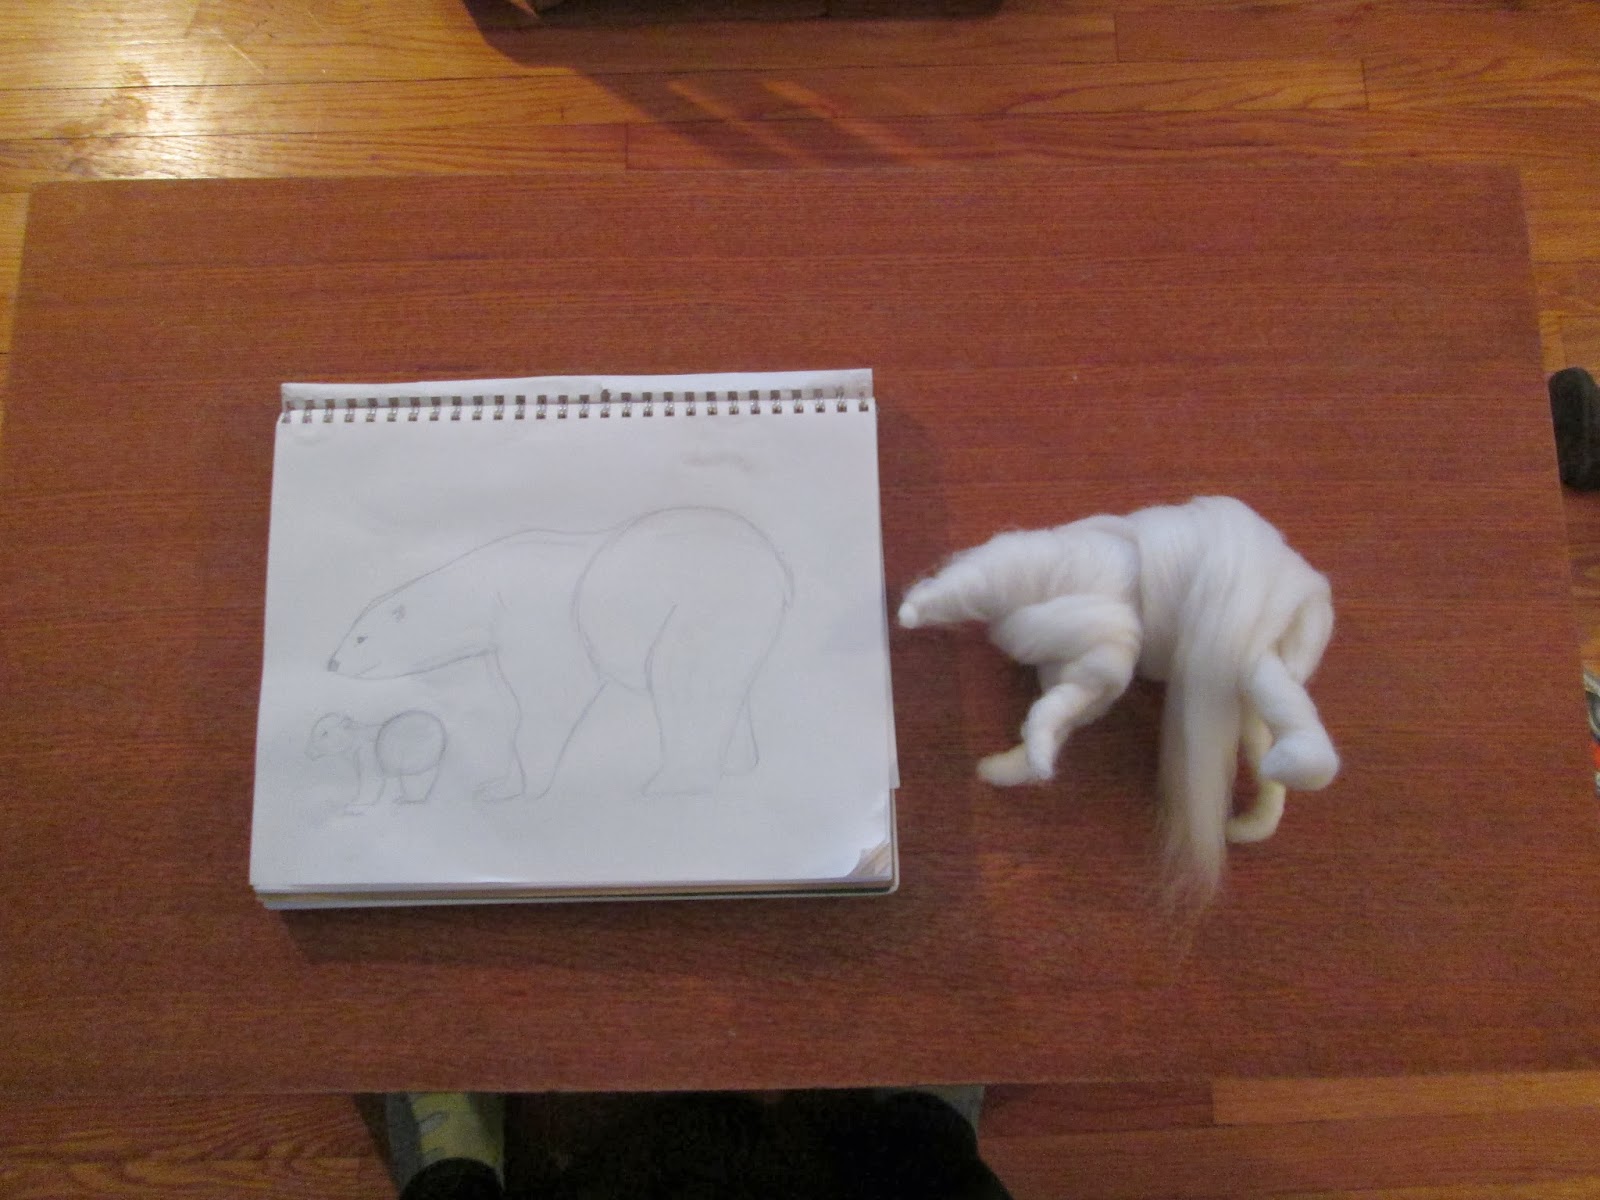
As I am working, I keep my sketch close by so I can compare my sculpture to it. It needs a lot more wool at this point, but the general shape and proportion are OK.


1 comment:
Thank you so much for the tutorial, I simply love your work and and am grateful for any help that you have provided!!!
Post a Comment